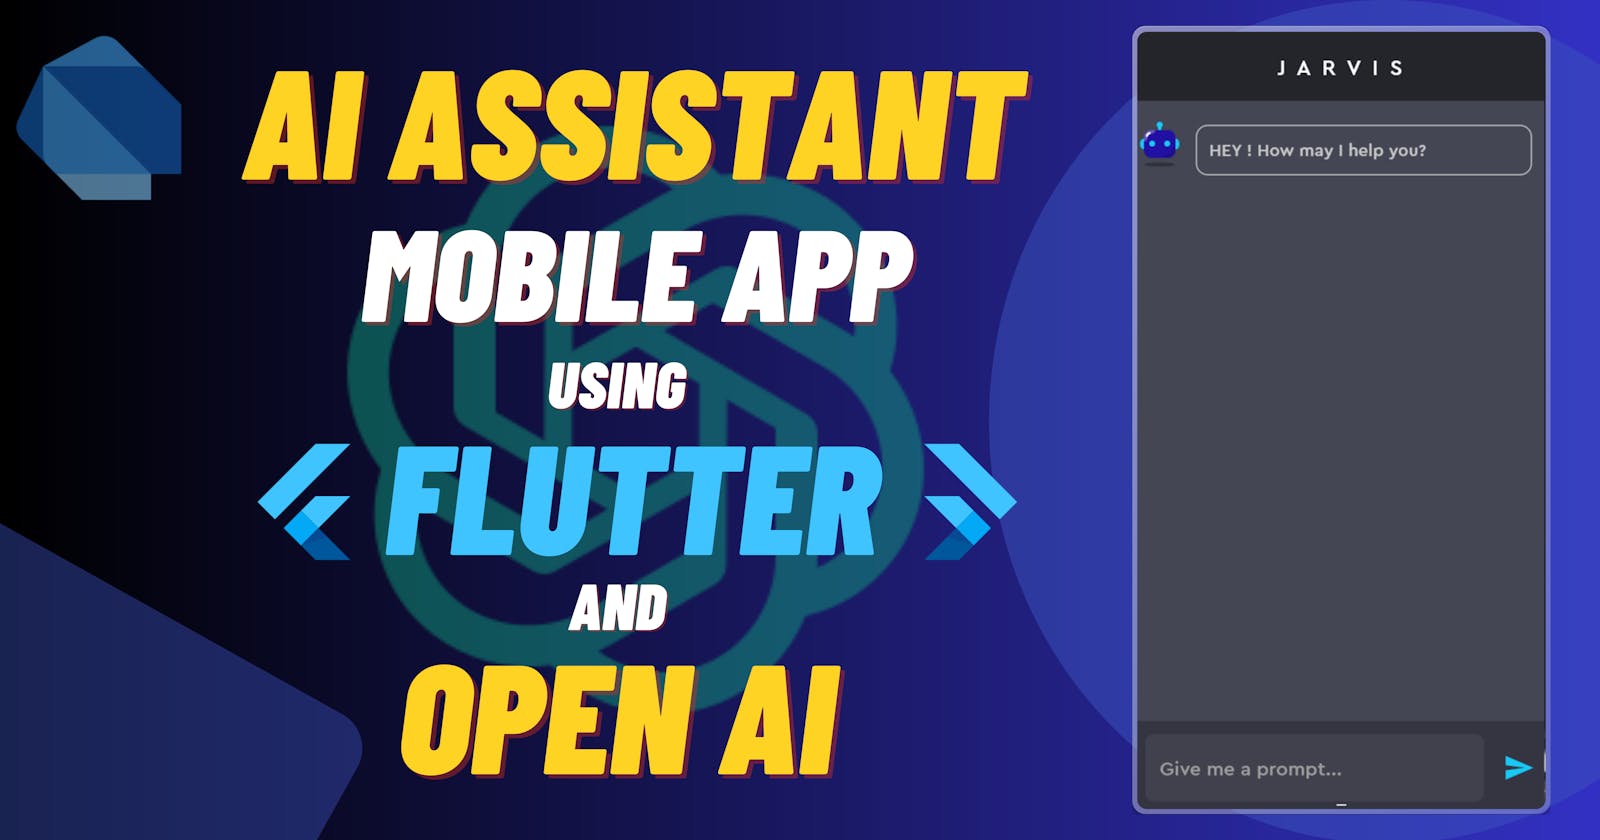
Build an AI Assistant App with Flutter and OpenAI API
Answer to all your queries are now just an app away


Introduction
Are you tired of constantly logging in and out of your chatGPT account? Say no more! In this blog, I'll show you how to create a personal AI assistant mobile application with Flutter and the OpenAI API.
Not only will you be able to add an exciting project to your mobile development portfolio, but you'll also be able to flaunt your new AI-assistant application to your friends. So, let's learn how to build an innovative and practical mobile application that will take your development skills to the next level.
Getting the environment ready
Open your terminal and run:
flutter create <project_name> org com.<your_name>.<project_name>
NOTE: <project_name> and <your_name> are placeholders, and you have to write your project name and your own name, respectively (Make sure to remove the < >).
Now, run flutter run to run the project on your device/simulator/web.
Adding custom fonts and assets
Let us add custom fonts, assets, and env files to our project.
Create an
assetsfolder in the root directory of the project. The assets folder consists of two other folders -fonts&imagesAdd .otf files of any font of your choice in the
fontsfolder. Similarly, add any icons or images of your choice in theimagesfolder.Open the
pubspec.yamlfile and copy the following code under theflutterpackage section.
flutter:
  uses-material-design: true
  assets:
    - assets/images/
    - .env
  fonts:
    - family: Cera Pro
      fonts:
        - asset: assets/fonts/Cera-Pro-Bold.otf
        - asset: assets/fonts/Cera-Pro-Medium.otf
NOTE-1: You must take care of the indentation.
NOTE-2: Every time you make any changes to pubspec.yaml file, always run flutter pub get command.
Creating the Color Palette
Let's create a file inside the lib folder containing all the colors we'll use throughout the project. A benefit of creating a separate file for such purposes is that we'll have to do it only once whenever we change the colors in the future.
import 'package:flutter/material.dart';

class Pallete {
  static const Color borderColor = Color.fromRGBO(200, 200, 200, 1);
  static const Color whiteColor = Colors.white;
  static const Color textFieldColor = Color.fromRGBO(52, 53, 65, 1);
  static const Color textBoxColor = Color.fromRGBO(65, 65, 78, 1);
  static const Color primaryColor = Color.fromRGBO(24, 201, 245, 1);
  static const Color chatColor = Color.fromRGBO(68, 70, 84, 1);
  static const Color appBarColor = Color.fromRGBO(32, 33, 35, 1);
}
Let's start
Now that we have installed all the necessary dependencies and packages, let us start with the real stuff - coding our app. I will be explaining the code and its logic. However, I assume that the implementation of basic UI using Flutter is known to you, so I will skip explaining those portions.
We will work inside the lib folder throughout our project.
main.dart
Pretty customary section! This file contains the MyApp widget.
import 'package:flutter/material.dart';
import 'package:flutter_dotenv/flutter_dotenv.dart';
import 'package:jarvis/homepage.dart';
import 'package:jarvis/pallete.dart';

// the main function is made async. This enables us to use await keyword with dotenv inside.
Future<void> main() async {
  await dotenv.load(); // loads all the environment variables
  runApp(const MyApp());
}

class MyApp extends StatelessWidget {
  const MyApp({super.key});

  // This widget is the root of your application.
  @override
  Widget build(BuildContext context) {
    return MaterialApp(
      debugShowCheckedModeBanner: false,
      title: 'Jarvis',
      theme: ThemeData.light(useMaterial3: true).copyWith(
        scaffoldBackgroundColor: Pallete.whiteColor,
        appBarTheme: const AppBarTheme(
          backgroundColor: Pallete.whiteColor,
        ),
      ),
      home: const HomePage(),
    );
  }
}
Homepage widget
We will use the Homepage widget to set up the app bar only. The rest of the sections will be dealt with later.
import 'package:flutter/material.dart';
import 'package:jarvis/chat_section.dart'; // ChatSection
import 'package:jarvis/pallete.dart'; // Color Pallete

class HomePage extends StatefulWidget {
  const HomePage({super.key});

  @override
  State<HomePage> createState() => _HomePageState();
}

class _HomePageState extends State<HomePage> {

  @override
  Widget build(BuildContext context) {
    return Scaffold(
      appBar: AppBar(
        backgroundColor: Pallete.appBarColor,
        elevation: 2,
        title: const Text(
          'J  A  R  V  I  S',
          style: TextStyle(
            fontSize: 18,
            color: Colors.white,
            fontWeight: FontWeight.w500,
            fontFamily: "Cera Pro", //make sure to add custom fonts to pubspec.yaml
          ),
        ),
        centerTitle: true,
      ),
      body: Container(
        decoration: const BoxDecoration(
          color: Pallete.chatColor,
        ),
        child: const ChatSection(), // widget explained below
      ),
    );
  }
}
ChatSection widget
The chat section will contain the entire UI of our app. The code will be pretty simple (as the most exciting part comes after this).
NOTE: The ChatSection widget will be stateful.
import 'package:flutter/material.dart'; // material package
import 'package:jarvis/open_ai_service.dart'; // OpenAiService class
import 'package:jarvis/pallete.dart'; // Pallet containing colors

class ChatSection extends StatefulWidget {
  const ChatSection({super.key});

  @override
  State<ChatSection> createState() => _ChatSectionState();
}

class _ChatSectionState extends State<ChatSection> {
  // to control the text input field (i.e. access the value input by user)
  TextEditingController promptController = TextEditingController();

  String prompt = ''; // stores the user prompt
  String chatSpeech = ''; // stores the response from the API

  bool showLoader = false; // whether to show loader or not

  // define class openAiService (type of class = OpenAiService)
  final OpenAiService openAiService = OpenAiService();

  @override
  void dispose() {
    promptController.dispose();
    super.dispose();
  }

  @override
  Widget build(BuildContext context) {
    return Column(
        children: [
            // chatGPT Response Container (explained below)
            // Prompt Input Section (explained below)
        ]
    );
  }
}
We will have the following two sections in the ChatSection widget.
ChatGPT Response Section
Prompt Input Section
Prompt Input Section
Let's start with the interesting one, the Prompt Input Section. Most of the code will be for the UI, so there is not much to explain there; hence, look at the code directly.
        // Prompt Input section
        Container(
          height: MediaQuery.of(context).size.height * 0.12,
          decoration: const BoxDecoration(
            color: Pallete.textFieldColor,
            borderRadius: BorderRadius.only(
              topLeft: Radius.circular(
                0,
              ),
              topRight: Radius.circular(
                0,
              ),
            ),
          ),
          child: Row(
            mainAxisAlignment: MainAxisAlignment.spaceBetween,
            crossAxisAlignment: CrossAxisAlignment.center,
            mainAxisSize: MainAxisSize.max,
            children: [
              //Input text field
              Expanded(
                child: Container(
                  // width: MediaQuery.of(context).size.width * 0.8,
                  padding: const EdgeInsets.all(8),
                  child: TextField(
                    cursorColor: Colors.grey,
                    cursorHeight: 30,
                    controller: promptController,
                    autocorrect: true,
                    autofocus: true,
                    // maxLength: 200,
                    maxLines: null,
                    keyboardType: TextInputType.multiline,
                    style: const TextStyle(
                      color: Colors.white,
                      fontFamily: "Cera Pro",// make sure to add custom fonts to pubspec.yaml
                    ),
                    decoration: InputDecoration(
                      border: OutlineInputBorder(
                        borderRadius: BorderRadius.circular(7),
                        borderSide: BorderSide.none,
                      ),
                      filled: true,
                      fillColor: Pallete.textBoxColor,
                      hintStyle: const TextStyle(
                        color: Colors.grey,
                      ),
                      hintText: 'Give me a prompt...',
                    ),
                  ),
                ),
              ),

              // Send Button
              IconButton(
                onPressed: ()=>{}, // code explained below
                icon: const Icon(
                  Icons.send,
                  color: Pallete.primaryColor,
                  size: 26,
                ),
              ),
            ],
          ),
        )
Let's focus our attention on the onPressed property of the IconButton widget.
When the Send button is pressed, a function is called to post the prompt to the OpenAI API and fetch the response. A loader will be displayed on the response container until the API returns the response. So, the following events take place when send button is pressed.
The value of the input text field is stored in the
promptvariable. The state ofpromptis modified.The
promptis passed as an argument to the chatGPTApi method of theopenAiServiceclass. ThechatGPTApi()method is an async function (returning a Future), so the result is awaited using theawaitkeyword.The API response is stored in a
speechvariable.
// Write this block of code in the 'onPressed' field of IconButton widget.

onPressed: () async {
                  setState(
                    () {
                      prompt = promptController.value.text.toString();
                      showLoader = true;
                    },
                  );
                  final speech = await openAiService.chatGPTApi(prompt);
                  setState(() {
                    chatSpeech = speech;
                    showLoader = false;
                  });
                  // print(speech);
                  promptController.clear();
                },
ChatGPT Response Section
This section will be the just UI. Besides, some things to note.
This section will be wrapped inside the
Expandedwidget, as we want this section to take up all the space available.This section needs to be scrollable, so wrap it in
SingleChildScrollViewwidget.If the
isShowLoaderis true, then show a loader. Otherwise, check for the value of thespeechvariable; if empty, display some introductory message. Else, display the response returned by the API.
The following is the code for this section (Don't worry if it seems long!! It's just FLUTTER UI).
// chatGPT response container
Expanded(
  child: SingleChildScrollView(
    child: Align(
      alignment: Alignment.topLeft,
      //chatGPT response chat bubble
      child: showLoader == true
          ? const Center(
              child: Padding(
                padding: EdgeInsets.only(
                  top: 30.0,
                ),
                child: CircularProgressIndicator(
                  color: Pallete.primaryColor,
                ),
              ),
            )
          // Main content
          : Row(
              mainAxisAlignment: MainAxisAlignment.center,
              crossAxisAlignment: CrossAxisAlignment.start,
              mainAxisSize: MainAxisSize.max,
              children: [
                // small icon of a robot/assistant
                Padding(
                  padding: const EdgeInsets.only(
                    top: 15.0,
                  ),
                  child: Image.asset(
                    "path_to_any_icon_of_your_choice",
                    width: 40,
                  ),
                ),
                // Response Box
                Expanded(
                  child: Container(
                    margin: const EdgeInsets.symmetric(
                      horizontal: 10,
                      vertical: 20,
                    ),
                    padding: const EdgeInsets.all(10),
                    decoration: BoxDecoration(
                      border: Border.all(
                        color: Pallete.borderColor,
                      ),
                      borderRadius: BorderRadius.circular(10),
                    ),
                    child: Text(
                      chatSpeech == ""
                          ? "HEY ! How may I help you?"
                          : chatSpeech,
                      style: const TextStyle(
                        color: Pallete.borderColor,
                        fontFamily: "Cera Pro",
                      ),
                    ),
                  ),
                ),
              ],
            ),
    ),
  ),
),
Creating OpenAiService
Let's work on the open_ai_service.dart file, which is the most critical file in our project. This file would contain methods to post queries and receive responses from the OpenAI API.
Firstly, install all the packages and modules required for further coding. We'll need the http package (to interact with OpenAI API) and the dot_env package (to access the environment variables). Navigate to your project directory and run the following commands on your terminal.
flutter pub add http
flutter pub add dot_env
flutter pub get
.env
Environment variables are the ones that store sensitive data (something which must not be publicly visible). Here, we will store our private API key as an environment variable. Create a .env file in the root directory of your Flutter project and define the API key as an environment variable.
OPEN_AI_API_KEY = "paste your API key here"
NOTE: Make sure that you include the .env file in .gitignore before pushing your code to GitHub (or a similar platform).
The request/response structure of OpenAI API
Firstly, sign up for an OpenAI account and generate a free API key.
Head over to the API reference section of the OpenAI website and look for the Chat section. This model generates responses based on a conversation (i.e., it remembers the chats).
You can see the example request and response shown in the documentation. The structure of the HTTP-post request will look like this.
// structure of the API request (in dart code)
http.post(
    Uri.parse("https://api.openai.com/v1/chat/completions"),
    headers:{
        "Content-Type": "application/json",
        "Authorization": "Bearer $openAIApiKey"
    },
    // the body needs to be converted to JSON format
    body: jsonEncode(
        {
            "model" : "gpt-3.5-turbo",
            "messages" : messages,
        },
    ),
);
The response from the API will look something like this.
// structure of API response body (in json format)
{
  "id": "chatcmpl-123",
  "object": "chat.completion",
  "created": 1677652288,
  "choices": [{
    "index": 0,
    "message": {
      "role": "assistant",
      "content": "\n\nHello there, how may I assist you today?",
    },
    "finish_reason": "stop"
  }],
  "usage": {
    "prompt_tokens": 9,
    "completion_tokens": 12,
    "total_tokens": 21
  }
}
Do not worry; we are interested only in the message field (under the choices property). Since the API response will be returned in JSON format, we must parse/decode it before using it.
Creating the OpenAiService class
Now we'll create the OpenAiService class and define the methods for posting requests to the OpenAI API.
import 'dart:convert'; // package to encode/decode JSON data type
import 'package:flutter_dotenv/flutter_dotenv.dart'; // dot_env package
import 'package:http/http.dart' as http; // http package

var openAIApiKey = dotenv.env['OPEN_AI_API_KEY']; //access the OPEN_AI_API_KEY from the .env file in the root directory

class OpenAiService{
    // declaring a messages List to maintain chat history
    final List<Map<String,String>> messages = [
        {
            "role" : "user",
            "content" : "Ensure all responses within 200         words",
        },
    ];

    // this async function with return a future which will resolve to a string
    Future<String> chatGPTApi(String prompt) async{
        // add the prompt to messages
        messages.add({
            "role" : "user",
            "content" : prompt,
        });

        // post the prompt to the API and receive response
        try{
            final res = http.post(
                Uri.parse("https://api.openai.com/v1/chat/completions"),
                headers:{
                    "Content-Type": "application/json",
                    "Authorization": "Bearer $openAIApiKey"
                },
                // encode the object to JSON
                body: jsonEncode(
                    {
                        "model" : "gpt-3.5-turbo",
                        "messages" : messages,
                    },
                ),
            );

            if(res.statusCode == 200){
                // decode the JSON response
                String response = jsonDecode(res.body)['choices'][0]['message']['content'];
                response = response.trim();
                // add the response to messages and return response
                messages.add(
                    {
                        "role" : "assistant",
                        "content" : response,
                    }
                );
                return response;
            }
            else{
                return "OOPS! An Error occured. \n Please try again after sometime";
            }
        }
        catch (error){
            return error.toString();
        }
    }
}
Generating an apk file
To test the application on an Android device, we need to install the apk-file of our project. Open the terminal and run:
flutter build apk --release
The terminal will show you the exact path of the apk file. Transfer it to your mobile and test it.
NOTE: You might have to allow installation from unknown sources in your device settings to install the apk.
Conclusion
In this tutorial, we created a working mobile application using the OpenAI API to answer all our queries. We learned about making HTTP requests and using environment variables to store sensitive information like API keys. Also, we modularized our code by creating separate widgets.
I hope you enjoyed this tutorial & I was able to add value to your development journey through this blog. You can find the source code of this project here.
Do like and share this blog, and follow me for more such content.
See you at the next one !!